
Set up Agent Mode
Connect a coding agent or Local AI and start a task in a folder.
Agent Mode runs in Msty Studio Desktop. It connects an agent to a task, with access to the tools and permissions supported by that agent. It is separate from choosing a chat model for a normal conversation.
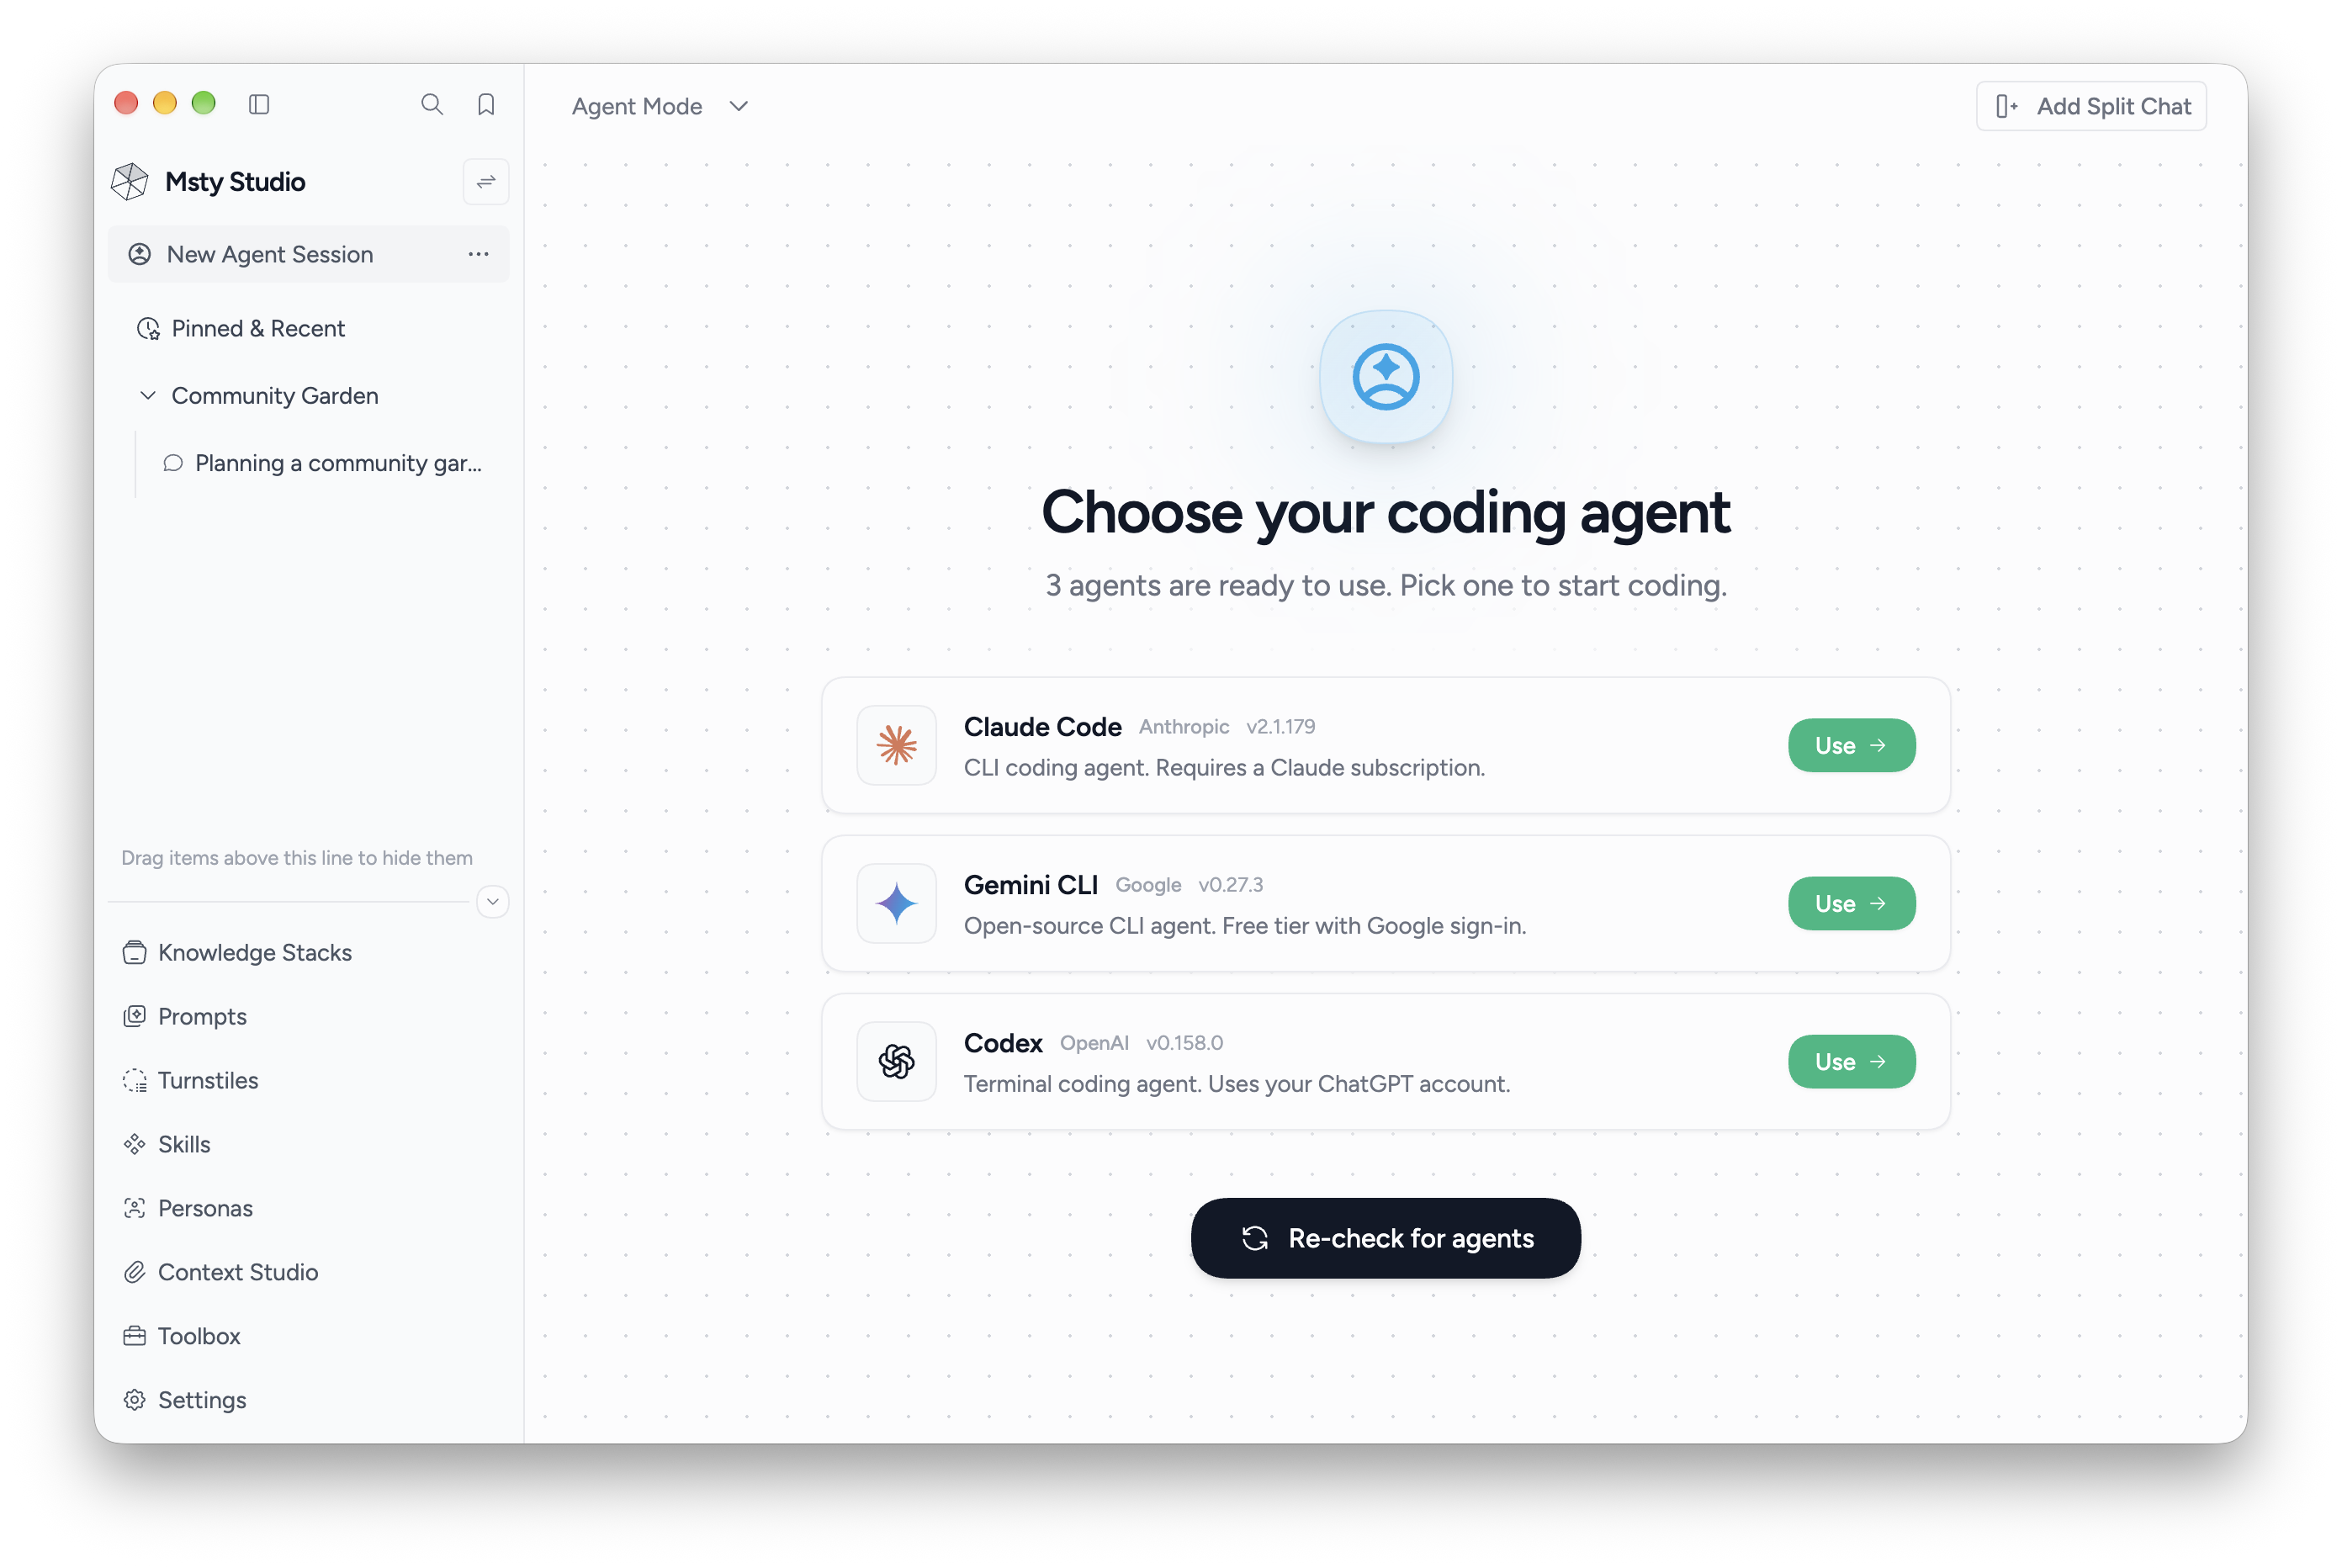
Choose an agent
- Open the sidebar's new-conversation menu and choose New Agent Session.
- Select a detected agent or follow the setup card for the agent you want.
- If you installed or signed into an agent outside Msty, use Re-check for agents to detect it again.
The setup screen includes Claude Code, Codex, Gemini CLI, and Local AI. Follow the selected agent's setup and sign-in instructions. Its account or model access is managed separately from your Msty license.
Use Local AI
Enable Local AI as an agent, then choose its provider and model. The local service must be running. If Msty reports a missing runtime or adapter, follow the setup guidance before starting the session.
Start a task
- Select the agent.
- Choose a workspace folder, a recent folder, or Start without folder.
- Choose a model, reasoning level, and operating mode when those controls are available.
- Describe the task and send it.
A useful first task is: “Read this project and explain how to run it. Do not change any files.” Choose the project folder you want the agent to inspect.
Here, a workspace folder is the filesystem folder for the agent's task. It is different from a Msty workspace that organizes your chats and resources.
Model choices, reasoning controls, and modes depend on the agent. Gemini CLI applies model selection at session start; start a new session to use another model.
Continue with sessions and permissions.