
Msty Studio 3.x · Desktop guide
Quick Start
Go from a clean installation to your first conversation.
Set up a model
- Open Msty Studio and choose Just exploring, For work, or I'm a developer. This helps tailor the setup suggestions.
- Choose a recommended local model, or connect an online provider.
- For a local model, adjust the recommendation from Light to Powerful, then choose Download & Get Started. Local models need enough disk space and memory.
- For an online provider, choose the provider, add its API key, and select at least one model before continuing. Your provider handles usage and billing.
- Choose your first activity: chat, generate images, chat with Msty Studio Docs, or explore personas.
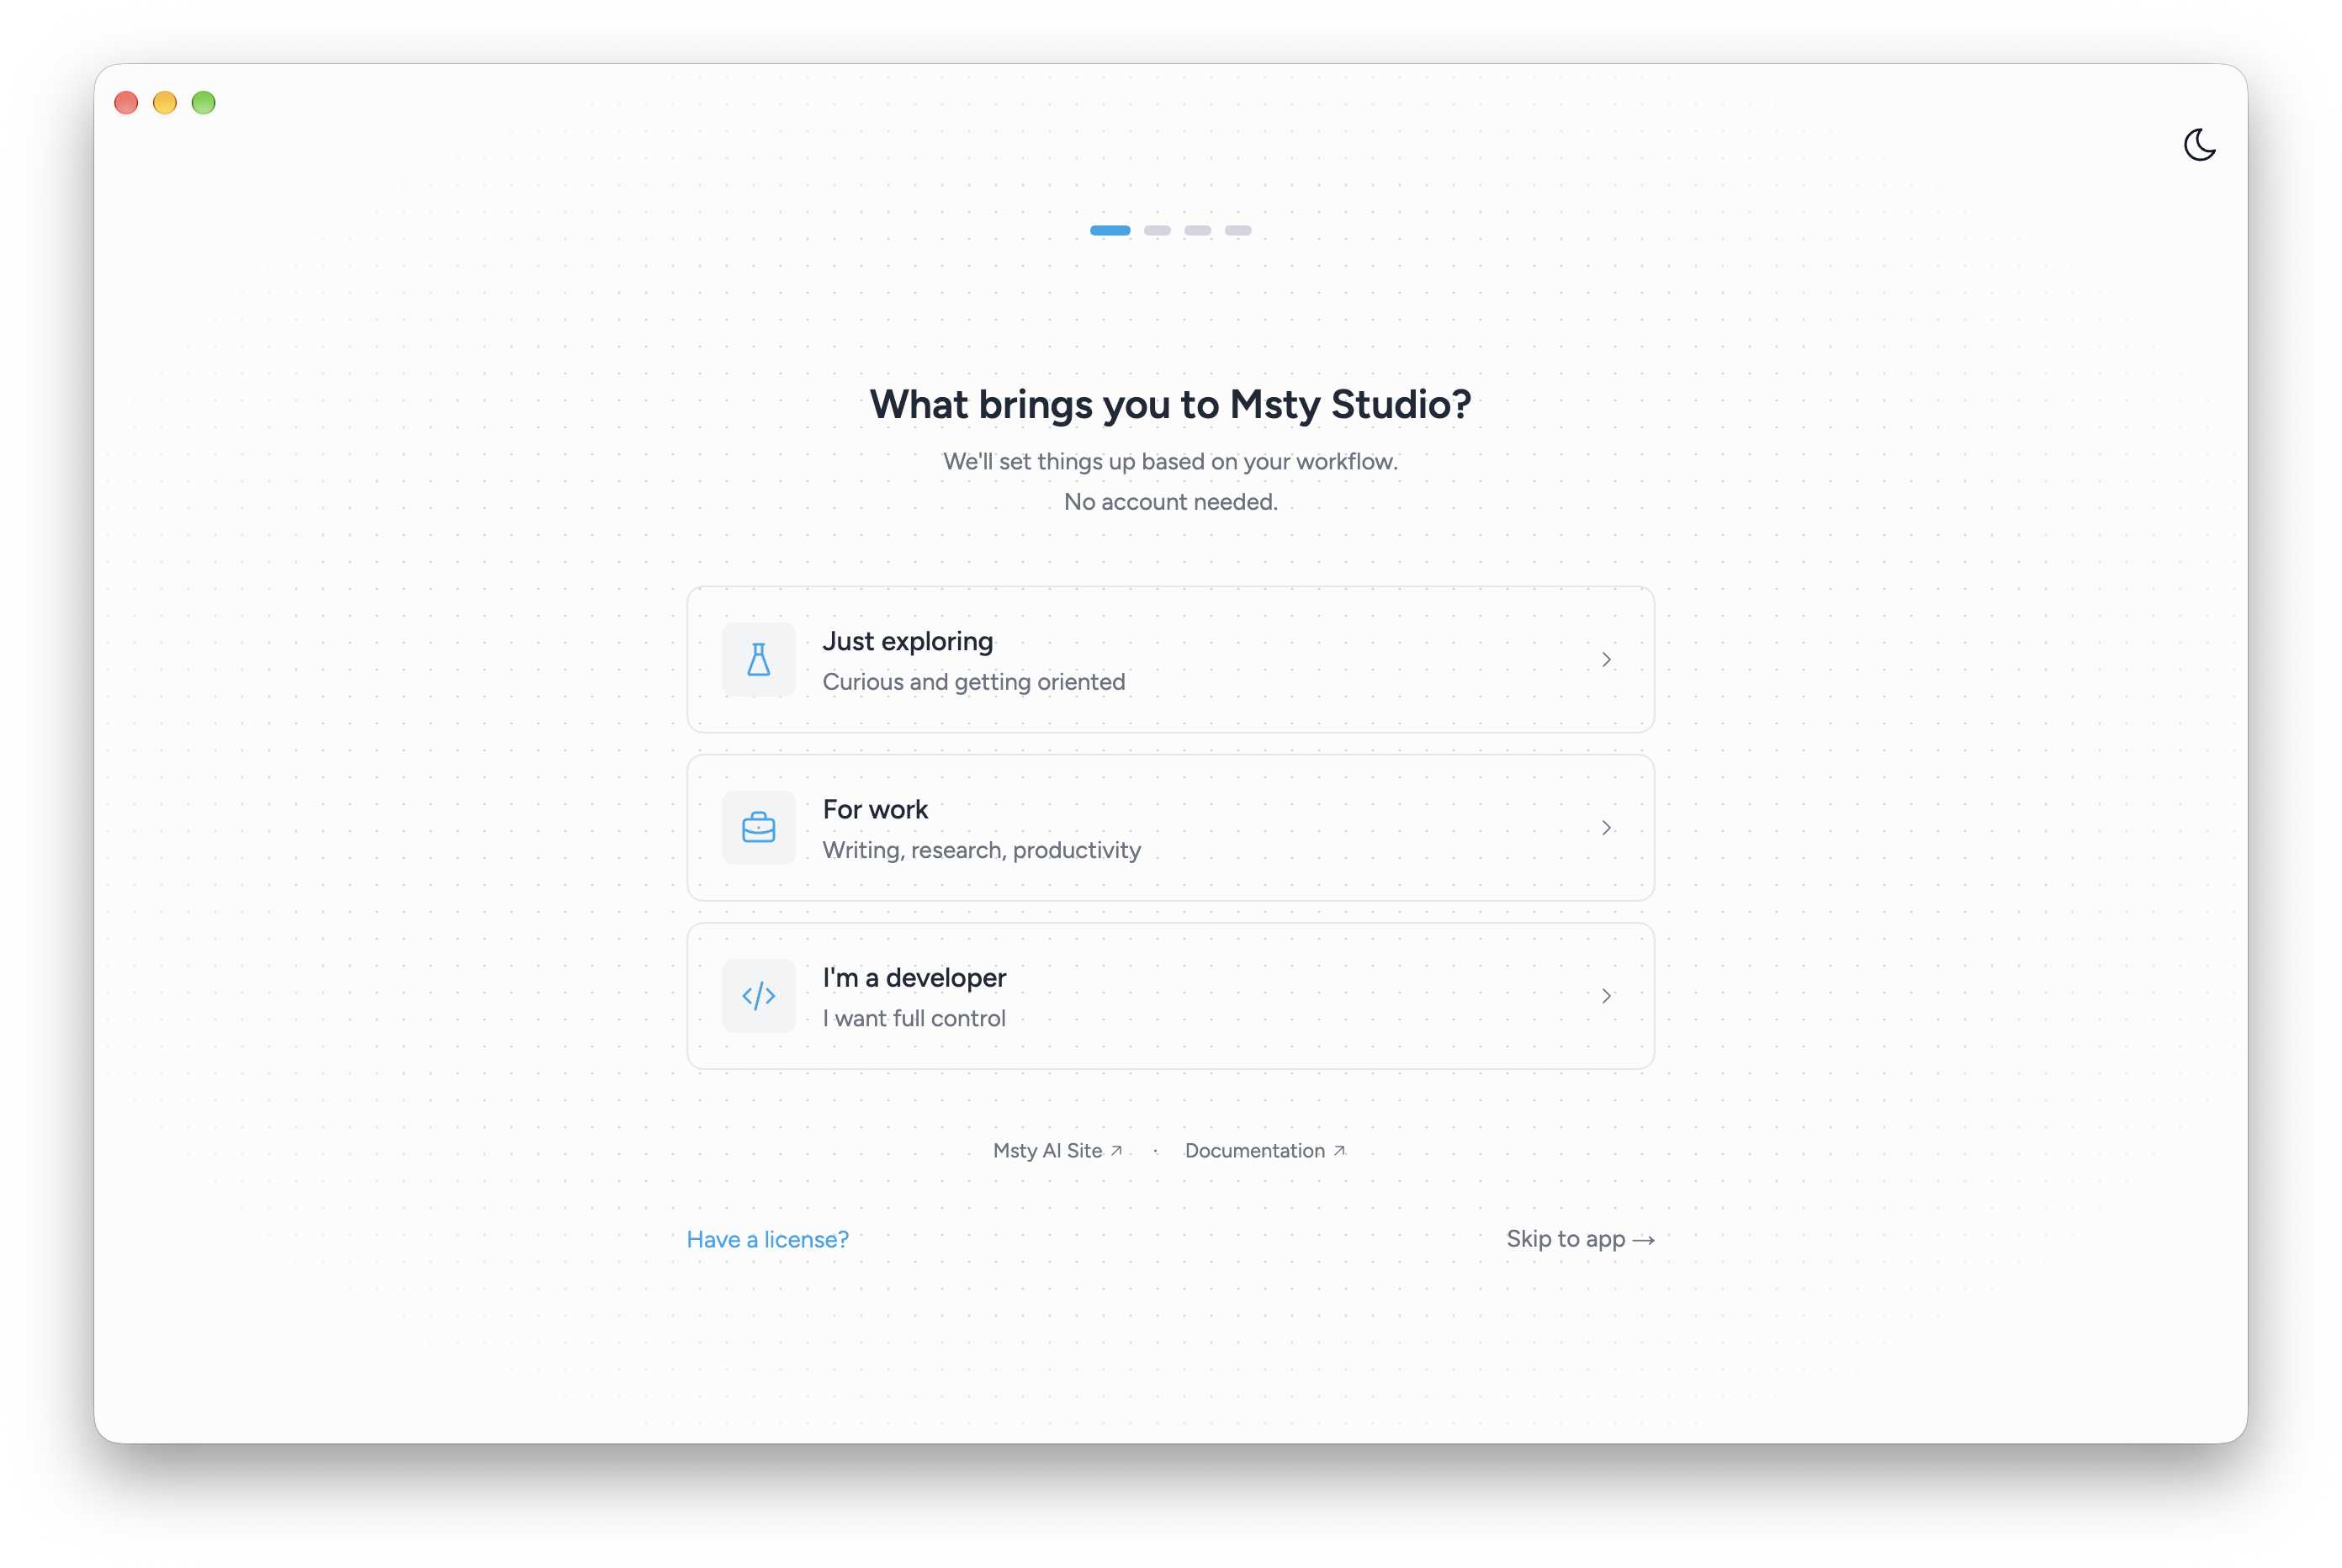
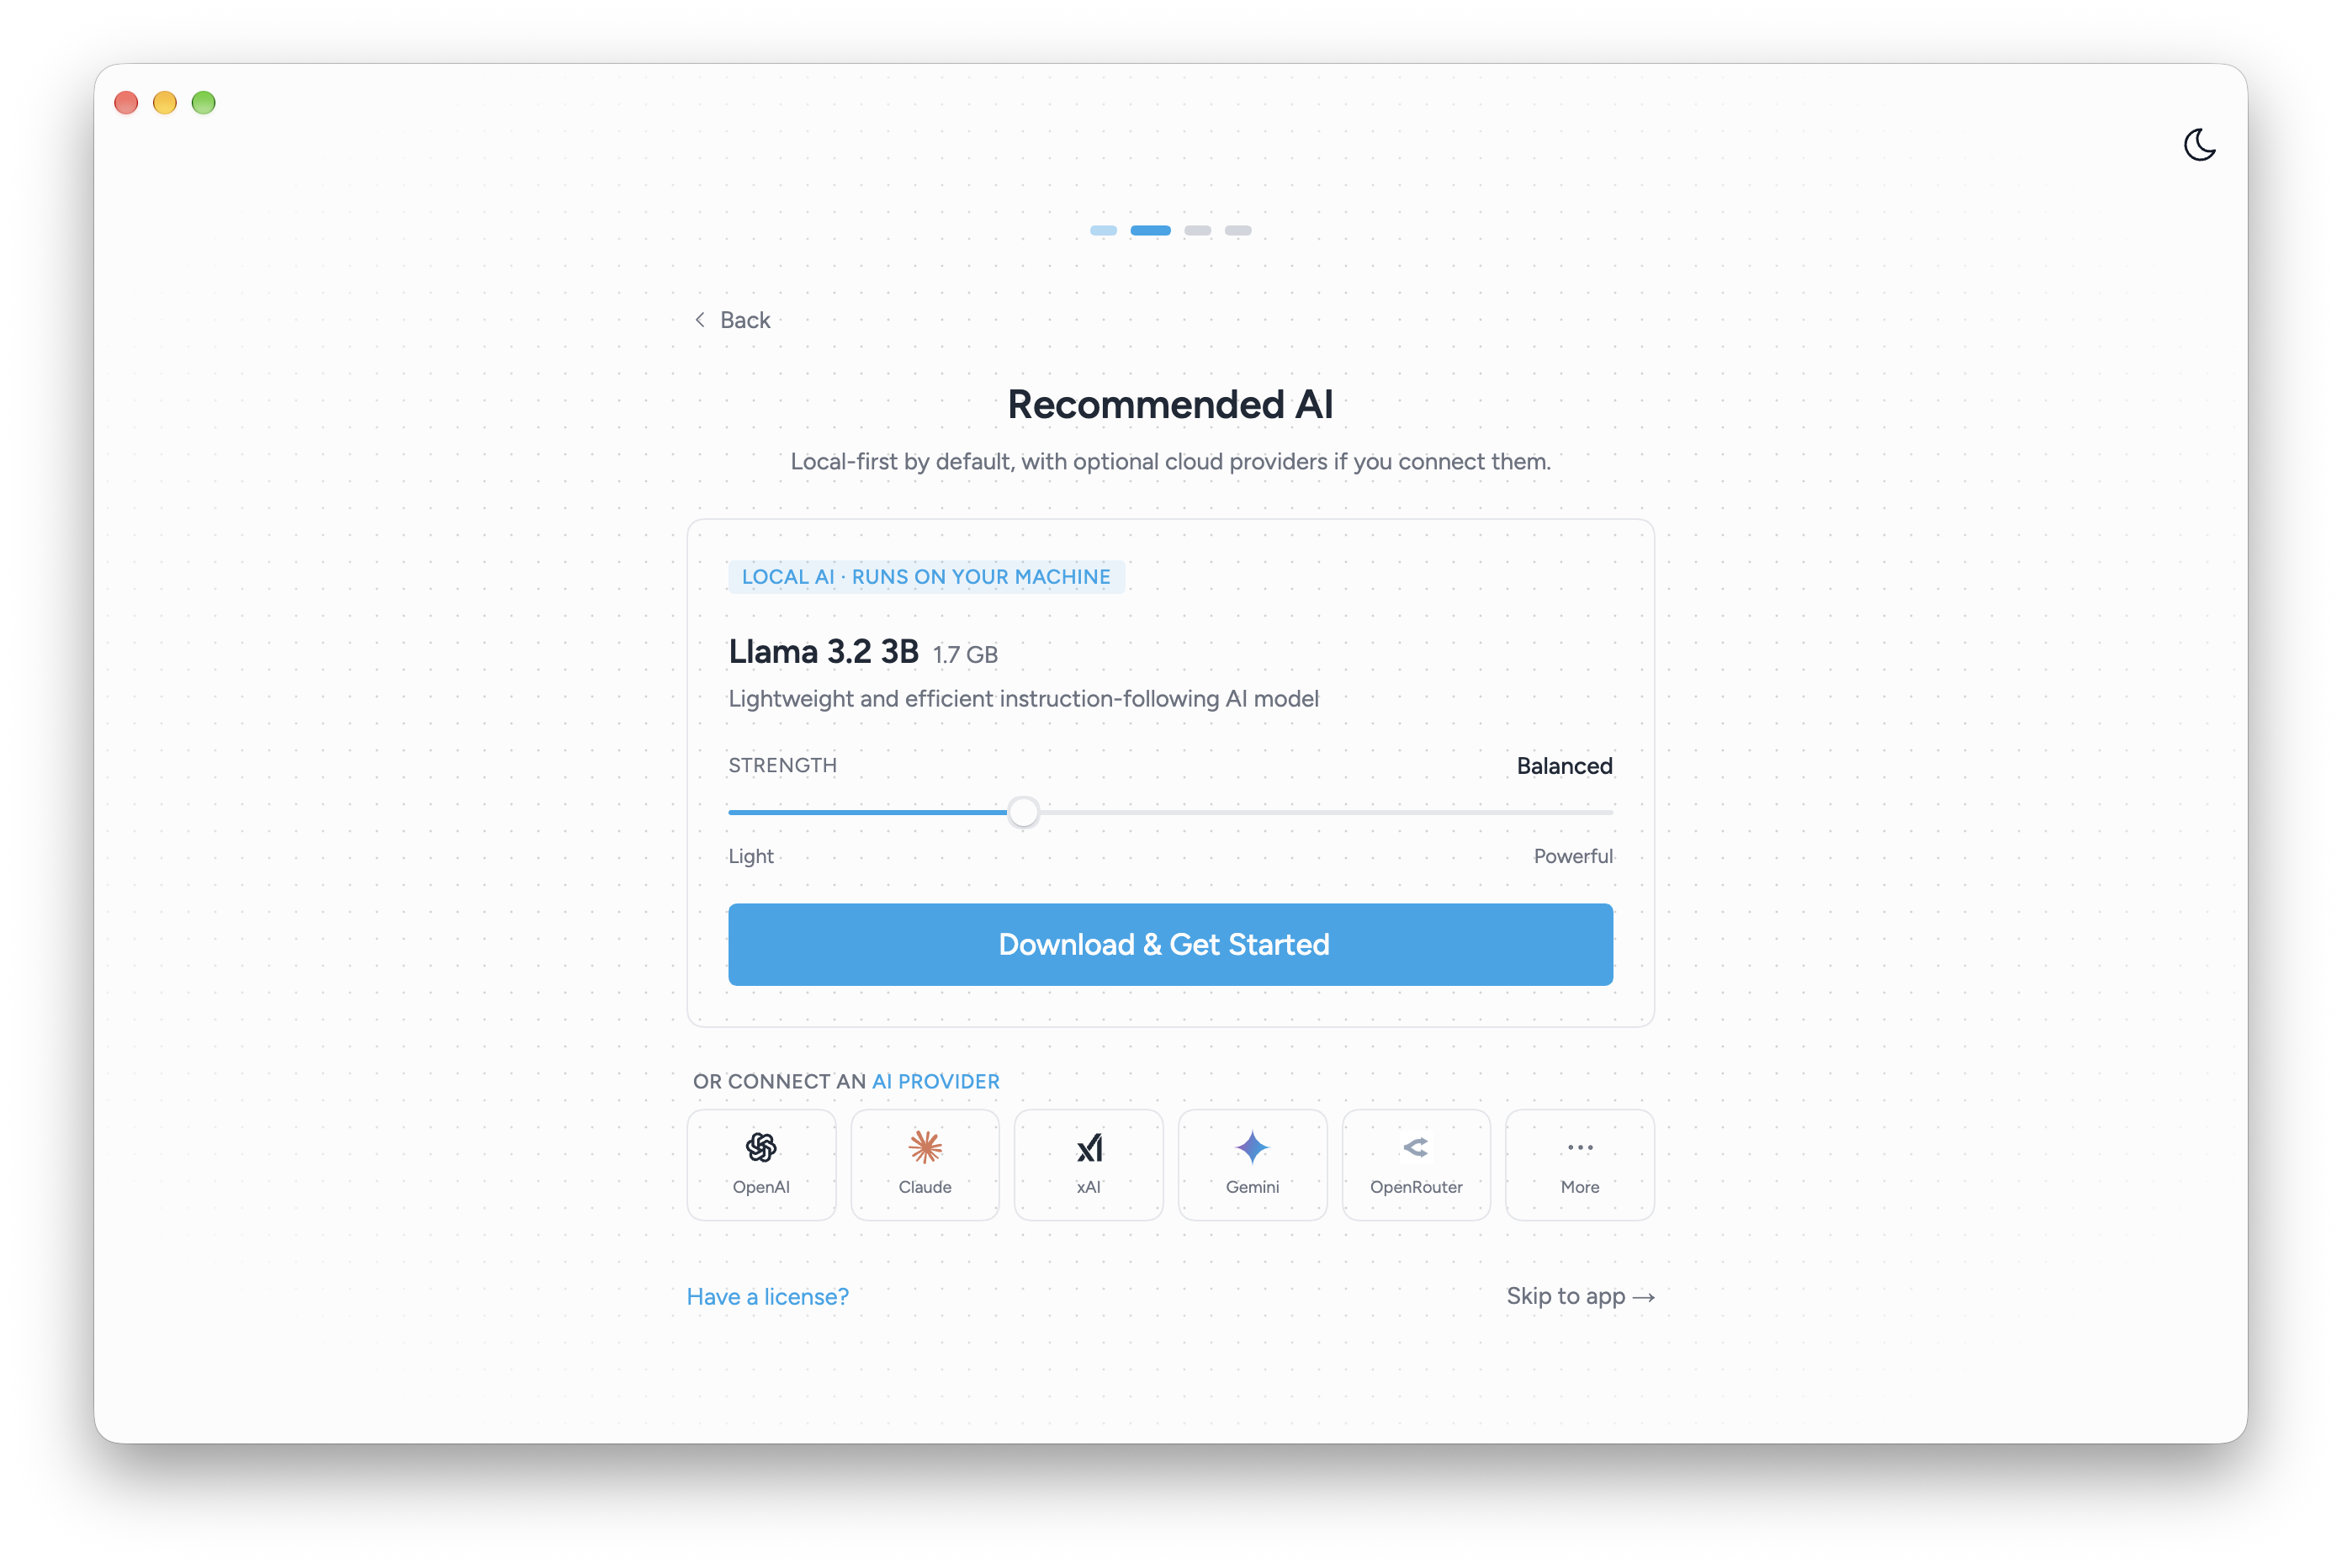
You can use Skip to app to explore first and add a model later under Settings > Model Providers or Settings > Local Models.
Send your first message
- Select New Conversation in the sidebar.
- Choose your model below the message box.
- Write a message and send it. For example: “Help me plan a small community garden.”
- Continue the conversation, or use Add Split Chat to compare another model alongside it.
Next: manage models or learn conversation controls.