
Change images
Pro
Some image models can take a picture as input and change it. In Image Lab you describe the change in words, such as Make the sneaker deep teal with silver laces. The model keeps the rest of the picture as much as it can.
Of the local models, FLUX.3 Image Klein (up to 10 input images) and Qwen-Image 2.1 Turbo (up to 3) change images. ERNIE-Image Turbo and FLUX.2 klein 9B only create them. A preset built on one of them can change images too, with the preset’s settings. For a preset, the change options show only when your API key can also use the preset’s model directly. With any other model picked, the change options don’t show.
Change the image on the canvas
Section titled “Change the image on the canvas”- Put the image on the canvas: make it, or click it under Your images.
- Under Do more with this image, click Change this image. The image moves into the prompt box, and the prompt clears.
- Type the change, such as
Make the sneaker deep teal with silver laces. - Click Generate.
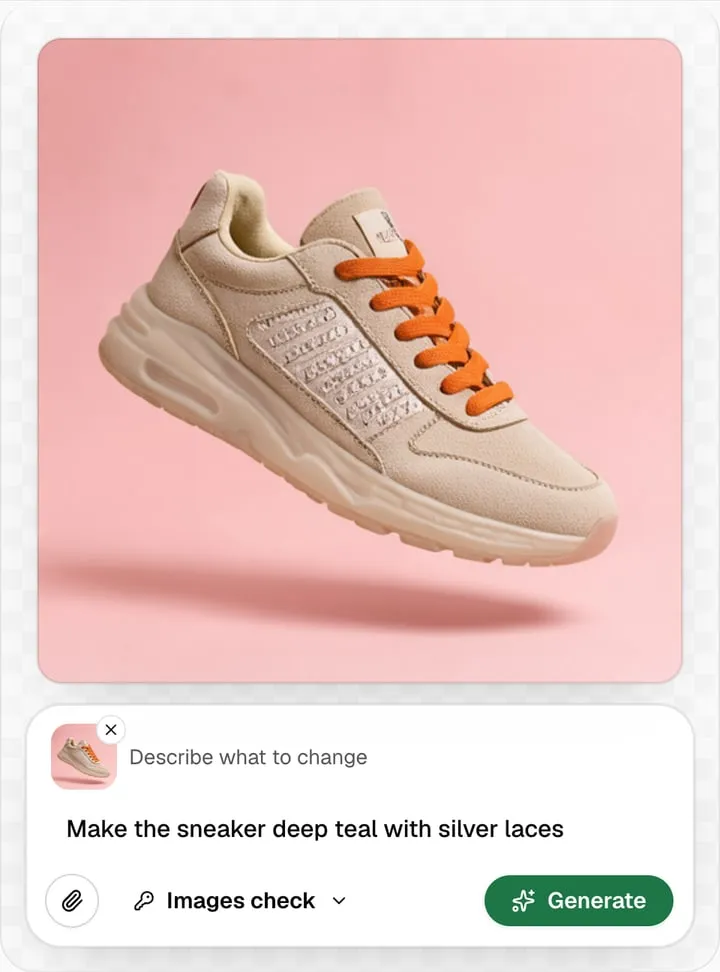
The new image takes its place on the canvas, and is saved as a change of the first one. The prompt box empties and the input picture is removed. For a second change, click Change this image again on the new image. If the request fails, your words and the input picture go back into the prompt box.
Settings from the left column still apply, such as Custom size and Seed.
Stop changing and start a new image
Section titled “Stop changing and start a new image”Click New image at the top right of the page. It removes the picture from the prompt box, clears the canvas and the prompt, and keeps your model and settings. The next Generate makes a new image from words alone.
Quick changes
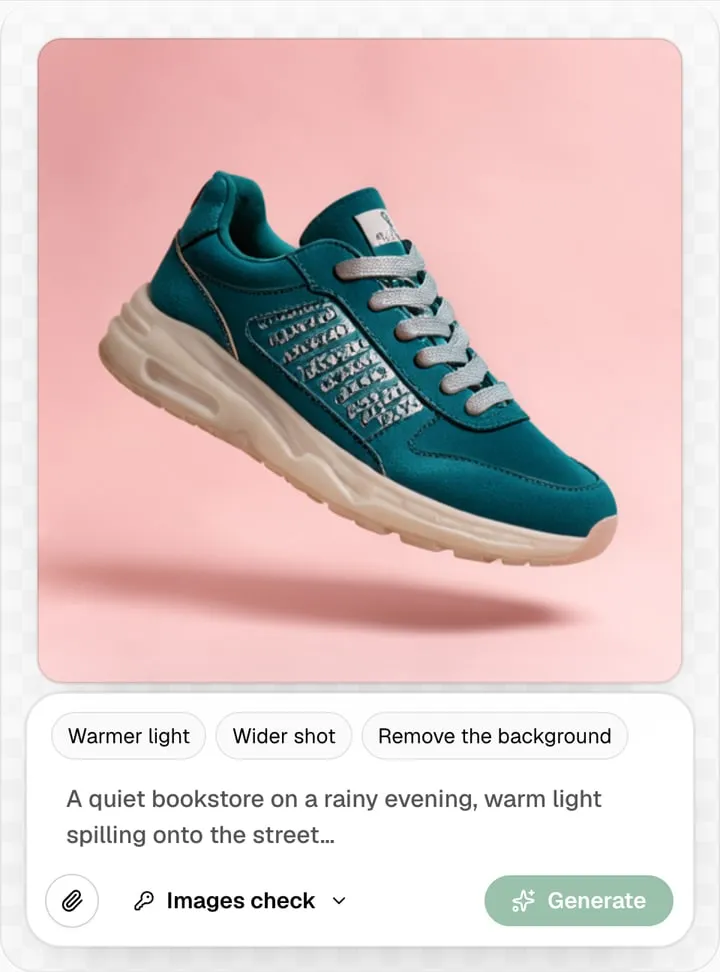
Section titled “Quick changes”With a model that changes images, three buttons show above the prompt: Warmer light, Wider shot and Remove the background. One click changes the image on the canvas. You don’t need to type anything. The result takes its place on the canvas, so you can click another quick change right after.
Use several images as a guide
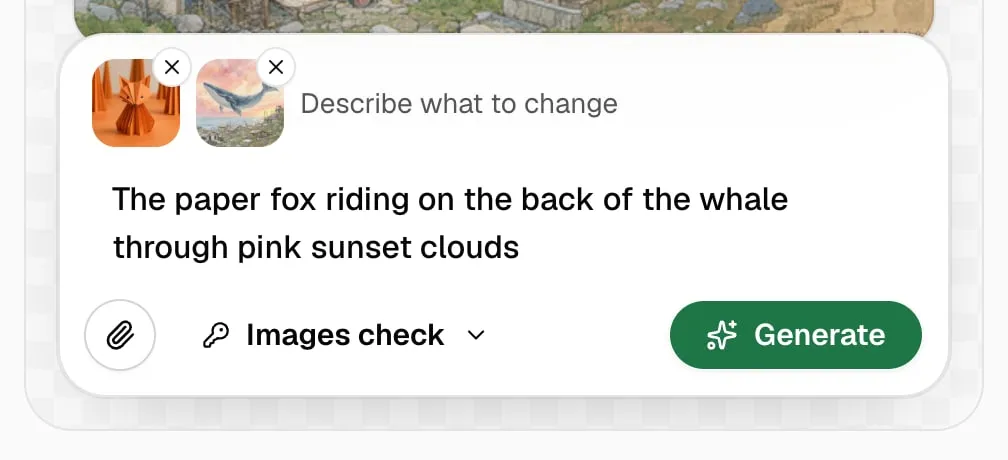
Section titled “Use several images as a guide”Use as a guide adds the image on the canvas to the prompt box, next to any images already there. It keeps the prompt you have typed. Use it to combine pictures, or to give the model a style or an object to copy. Change this image instead replaces the attached pictures with the selected image and clears the prompt.
- Put the first image on the canvas and click Use as a guide.
- Put the second image on the canvas and click Use as a guide again.
- Describe the result, such as
The paper fox riding on the back of the whale through pink sunset clouds. - Click Generate. The result shows on the canvas, and both pictures leave the prompt box.
Both actions need a model that accepts reference images. FLUX.3 Image Klein takes up to 10 and Qwen-Image 2.1 Turbo up to 3. Other models can have a different limit. If you reach it, remove an attachment before adding another. See Combine two images.
Change your own picture
Section titled “Change your own picture”Click the paperclip (Add an image to change) and pick a file from your computer. Use a non-empty PNG, JPEG or WebP under 50 MB. The attached pictures must total no more than 64 MB and fit the model’s image limit. Documents such as TXT and JSON are not accepted.
Check that the attachment thumbnail appears, then type the change and click Generate. Remove a picture with its × button. If the model cannot use reference images, pick one that can or remove the attachment.
Steps to this image
Section titled “Steps to this image”Each change remembers the image it came from. When a changed image is on the canvas, How it was made shows Steps to this image: the Original at the top, then each change, with the image on the canvas marked.
The timeline shows the changes made from the image on the canvas too. When you made more than one change from the same image, each shows as a branch under it. A branch that has its own changes shows a count, such as 2 more changes. Click the count to go to that branch and see them.
When you select a change that has no changes of its own, it keeps its place under the image it came from, with the green dot on it. The changes beside it stay in view, one click away. For example, select Make the light warmer, and the neon street change stays just below it. A change that has its own changes moves to the end of the line instead, with its changes under it.
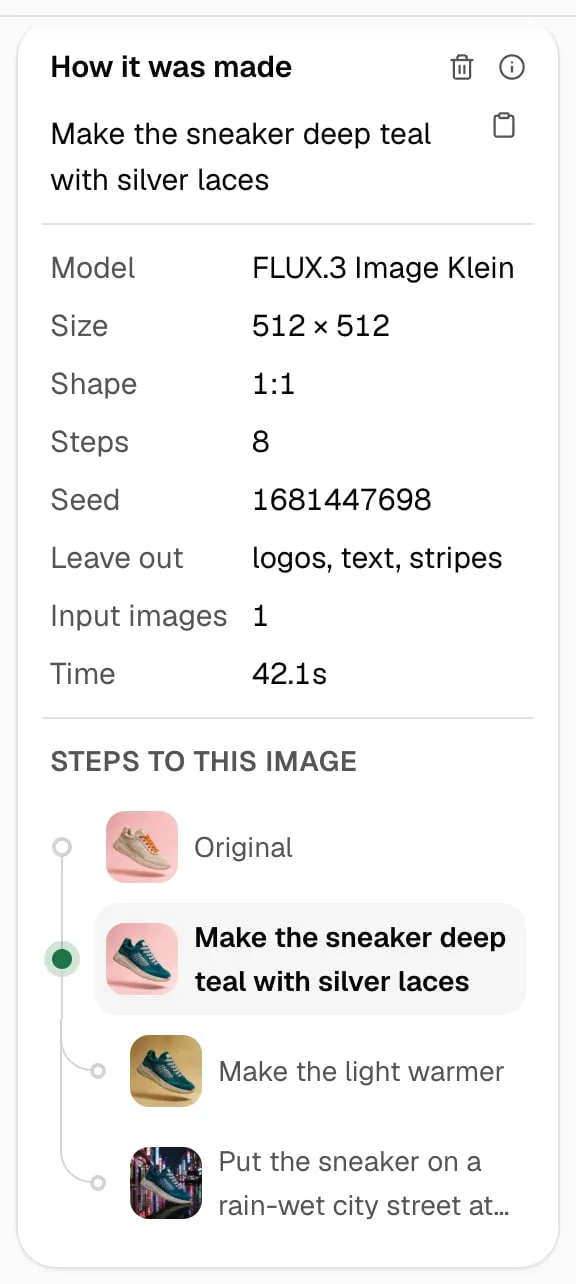
Click any step to put that image back on the canvas. From there you can change it again in another direction.
In the Gallery, a changed image has a pencil badge, and its details say Change.
What it can’t do
Section titled “What it can’t do”- No masks. You can’t mark one area to repaint. Say where the change goes instead, such as
Change only the laces to silver. - Changes aren’t exact. The model draws a new picture from the old one. Small details can shift. If one shifts, try again or set a Seed.
- Input images count against the time. A change takes longer than a new image of the same size. A 512 × 512 change took about 45 seconds on an M3 Max.